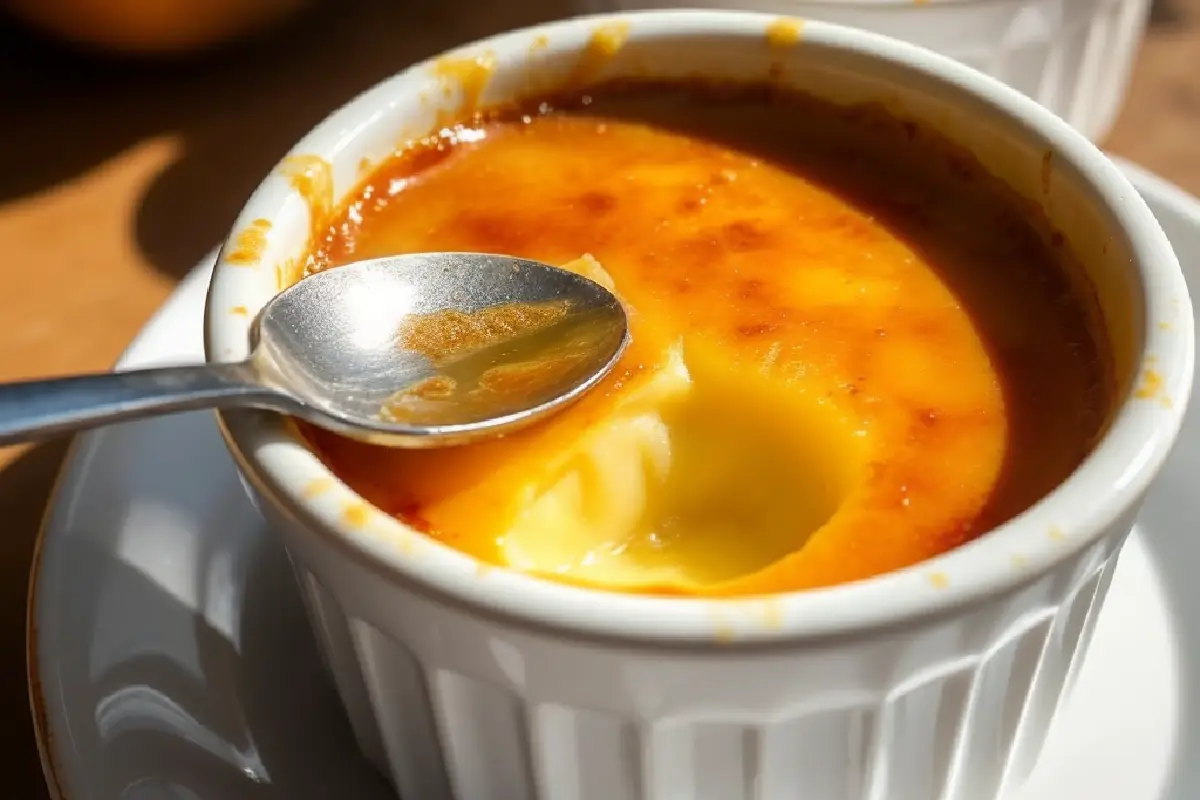
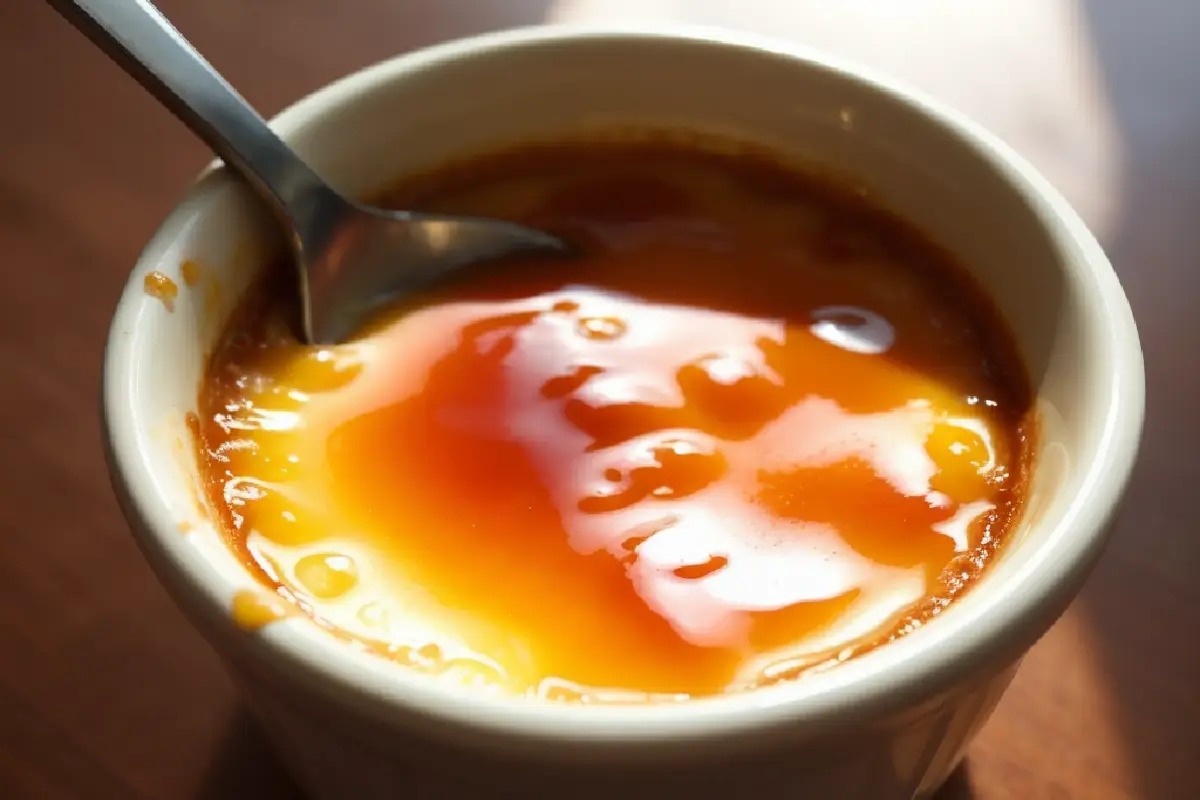
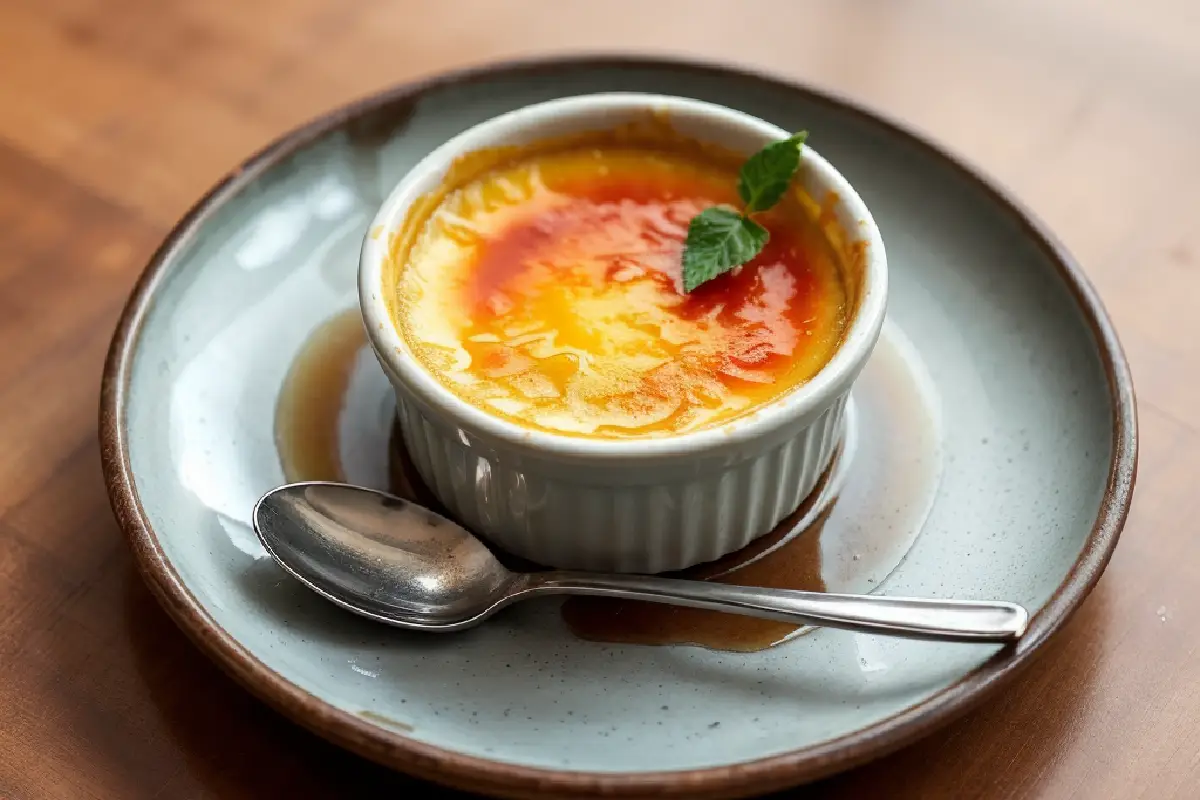
Learning how to caramelize brûlée is essential for achieving that signature, crisp top layer on desserts like crème brûlée and other brûlée-inspired dishes. The process involves sprinkling sugar on the surface and using a heat source to melt and brown it to perfection. The result? A crackly caramelized layer that provides an irresistible contrast to the creamy custard beneath.
If you enjoy perfecting the art of desserts, exploring savory dishes like crab brûlée can bring a fun, gourmet twist to your culinary repertoire. Let’s dive into the step-by-step techniques to achieve that beautiful caramelized topping, whether you’re using a blowtorch or broiler.
Why Caramelizing Brûlée Matters
The top layer of a brûlée is more than just a decorative finish—it adds texture and depth to the dessert. Here’s why caramelizing brûlée is essential:
- Texture Contrast: The hard, glass-like surface contrasts beautifully with the smooth custard beneath.
- Flavor Enhancement: Caramelization brings out the rich, nutty flavors of sugar, adding complexity to the dessert.
- Aesthetic Appeal: The golden-brown top gives the dish a professional, finished look.
Mastering this technique ensures your brûlée desserts not only taste fantastic but also look picture-perfect for any occasion.
Essential Tools for Caramelizing Brûlée
To get that perfectly caramelized top, you’ll need the right tools. Here are the must-haves:
- Kitchen Torch: The most popular tool for caramelizing brûlée. It allows precise control and creates even browning.
- Broiler: If you don’t have a torch, a broiler can work, though the results may vary slightly.
- Fine Sugar: Use superfine sugar for the best results—it melts quickly and caramelizes evenly.
- Heatproof Ramekins: Essential for holding the custard while ensuring it withstands high heat.
For another professional kitchen technique, check out this guide on how to boil pasta al dente to master every element of your meal preparation.
How to Caramelize Brûlée Step by Step

1. Prepare the Custard
- Ensure your custard is chilled and firm before caramelizing the sugar on top. The cold base ensures that the caramel doesn’t sink into the dessert.
- Use classic custards like crème brûlée or experiment with other flavors, such as crab brûlée.
2. Sprinkle the Sugar Evenly
- Sprinkle a thin, even layer of superfine sugar over the top of the custard. Avoid using thick or coarse sugar, as it may not caramelize evenly.
- Tilt the ramekin gently to distribute the sugar uniformly across the surface.
3. Use a Kitchen Torch
- Ignite the torch and keep the flame 2-3 inches away from the sugar.
- Move the flame in a circular motion, ensuring all areas are evenly browned. Watch as the sugar melts, bubbles, and forms a hard, glass-like surface.
4. If Using a Broiler
- Preheat your oven’s broiler on high.
- Place the ramekins on a baking tray and position them 3-4 inches beneath the broiler.
- Watch carefully to prevent burning—caramelization takes only a few minutes under the broiler.
5. Let the Caramel Harden
- Allow the brûlée to sit for 1-2 minutes after caramelizing, giving the top time to harden.
- Tap the surface lightly with a spoon to test its crispness. The top should crack under slight pressure, revealing the creamy custard beneath.
Common Mistakes to Avoid When Caramelizing Brûlée
- Uneven Sugar Layer
- Too much sugar will burn, while too little will leave gaps in the caramel. Aim for a thin, even coating.
- Torch Too Close
- Holding the flame too close can cause scorching. Keep the torch at least 2 inches away and move it in circles.
- Burning with the Broiler
- The broiler can caramelize unevenly. Check the ramekins frequently and rotate them if necessary.
- Caramelizing Too Early
- Caramelize just before serving to keep the top crisp. If done too early, the caramel can soften.
Tips for Perfect Caramelization Every Time
- Choose the Right Sugar: Superfine sugar works best as it melts and browns evenly.
- Use a Steady Hand: Move the torch slowly for even caramelization.
- Experiment with Flavors: Add a hint of vanilla sugar or cinnamon for an extra twist.
- Practice Makes Perfect: Caramelizing can take some practice, so don’t be discouraged if your first few attempts aren’t perfect.
How to Use Caramelized Brûlée in Savory Dishes
Though caramelization is traditionally used in desserts, you can also apply this technique to savory dishes like crab brûlée. The sweetness of the caramelized sugar creates a delightful contrast with the savory custard. This adds a gourmet touch to seafood dishes, making them perfect for upscale gatherings.
Advanced Caramelizing Techniques for Brûlée
If you’re ready to take your caramelizing skills to the next level, consider these advanced techniques and pro tips to achieve flawless results every time.

1. Infused Sugar for Flavorful Caramelization
Adding subtle flavors to the sugar before caramelizing can transform the brûlée into a truly unique experience:
- Vanilla-Infused Sugar: Store sugar with a vanilla bean pod for a week to absorb its aroma.
- Citrus Zest: Mix in finely grated lemon or orange zest for a bright, tangy twist.
- Spiced Sugar: Blend in cinnamon, nutmeg, or cardamom to complement custard flavors.
2. Layered Caramelization for Texture
Create an extra layer of caramel for added crunch and depth:
- Sprinkle a thin layer of sugar, caramelize, and let it cool completely.
- Add a second layer of sugar and caramelize again for a thicker, cracklier crust.
3. Alternative Sugars for Unique Results
Experiment with different types of sugar to achieve distinct flavors and textures:
- Turbinado Sugar: Its coarse texture creates a thicker, crunchier caramel layer.
- Brown Sugar: Adds a deeper, molasses-like flavor.
- Coconut Sugar: Provides a natural sweetness with a hint of caramel flavor.
Using Caramelization in Unexpected Dishes
Expand your use of caramelization beyond traditional brûlées to elevate savory and unconventional recipes:
1. Savory Brûlées
- Crab Brûlée: Use caramelized sugar as a contrast to the rich, savory custard.
- Cheese Brûlée: Top a cheesy custard with sugar for an unexpected twist.
2. Breakfast Brûlées
- Yogurt Brûlée: Caramelize sugar on top of Greek yogurt for a crunchy breakfast treat.
- Oatmeal Brûlée: Sprinkle sugar over creamy oatmeal and torch it for a brûlée-inspired start to your day.
3. Fruit Brûlées
- Baked Apple Brûlée: Caramelize sugar on baked apple halves for a simple yet elegant dessert.
- Pineapple Brûlée: Use this technique on pineapple slices for a tropical treat.
Common Problems and How to Fix Them
Even experienced cooks can encounter challenges when caramelizing brûlée. Here’s how to troubleshoot common issues:
Problem: Sugar Doesn’t Melt Evenly
Solution:
- Ensure the sugar layer is thin and even.
- Use superfine sugar for smoother melting.
Problem: Custard Overheats During Caramelization
Solution:
- Chill the custard thoroughly before adding sugar.
- Keep the torch moving to avoid prolonged heat exposure.
Problem: Caramel Cracks Unevenly
Solution:
- Apply consistent heat to create an evenly hardened surface.
Adding Caramelized Brûlée to a Full Menu
Incorporate caramelized brûlée as part of a complete, elevated meal:
Appetizers
- Savory Parmesan Breadsticks: A crisp starter to complement a creamy brûlée.
Mains
- Herb-Crusted Cod: Pair with crab brûlée for a cohesive seafood theme.
Desserts
- Pumpkin Bread Truffles: Add a sweet and seasonal finish to your meal.
Perfecting Your Presentation
Presentation is key when serving caramelized brûlée. Here’s how to elevate your plating:
- Ramekin Choice: Opt for ramekins in bold colors or elegant designs to enhance visual appeal.
- Garnishes: Add a sprig of fresh mint, edible flowers, or a dusting of powdered sugar for a polished look.
- Accompaniments: Serve with biscotti, fresh fruit, or a drizzle of flavored syrup.
Pro Tips for Serving and Storing Brûlée
1. Serve Immediately
Caramelized brûlée is best served fresh, while the sugar top is still crisp.
2. Storing Leftovers
- Refrigerate leftover custards without the brûlée topping.
- Add and caramelize fresh sugar just before serving to maintain the signature crunch.
3. Freezing Tips
Avoid freezing caramelized brûlée, as the texture of the sugar topping will degrade. However, custards without sugar can be frozen and torched after thawing.
Frequently Asked Questions (FAQs)
1. Can I use regular sugar instead of superfine sugar?
- Yes, but superfine sugar melts more evenly and prevents clumps.
2. What can I use if I don’t have a torch?
- A broiler works as an alternative, though it may not provide as precise results.
3. Why did my sugar burn?
- The torch may have been too close, or the sugar layer was too thick. Move the torch in circular motions for even browning.
4. How do I clean the torch safely?
- Ensure the torch is cool before wiping it with a damp cloth. Store it with the fuel source disconnected.
5. Can I caramelize other dishes besides crème brûlée?
- Yes! Try caramelizing savory custards like crab brûlée for a creative twist.
Nutritional Information for Caramelized Brûlée
| Nutrient | Amount per Serving |
|---|---|
| Calories | 250-300 |
| Protein | 6-8g |
| Fat | 15-20g |
| Carbohydrates | 20-25g |
Although rich, caramelized brûlée offers a balanced indulgence when enjoyed in moderation. Using less sugar can reduce the calorie count while maintaining the delightful texture.
Pro Tips for Serving Caramelized Brûlée
- Serve Immediately: Brûlée tastes best when the top is crisp and freshly caramelized.
- Pair with Fresh Berries: Add raspberries or strawberries to enhance the flavor.
- Garnish with Mint: A sprig of mint adds a pop of color and freshness.
Conclusion: Mastering How to Caramelize Brûlée
Caramelizing brûlée is an essential skill for any home chef. Whether you’re making classic crème brûlée or experimenting with savory dishes like crab brûlée, the crisp top layer elevates the dish to a new level of sophistication. With the right tools and techniques, you’ll master caramelization in no time.
If you’re looking for other ways to enhance your culinary skills, explore this guide on how to boil pasta al dente to perfect every element of your meals.

